How to Process Prickly Pear Fruit for Juice - Part 2
The 2nd installment of a 2-part series on my tried and true methods for effectively and efficiently processing our wild prickly pear fruit for juice.
In my previous post, we discussed how to optimally gather wild prickly pear fruit. This sets you up for success in the subsequent steps of actually turning the fruit into juice. Not all “red” fruits are alike, and some ripened, sweet, wild prickly pear fruits never even turn red, so it’s best to learn before you gather.
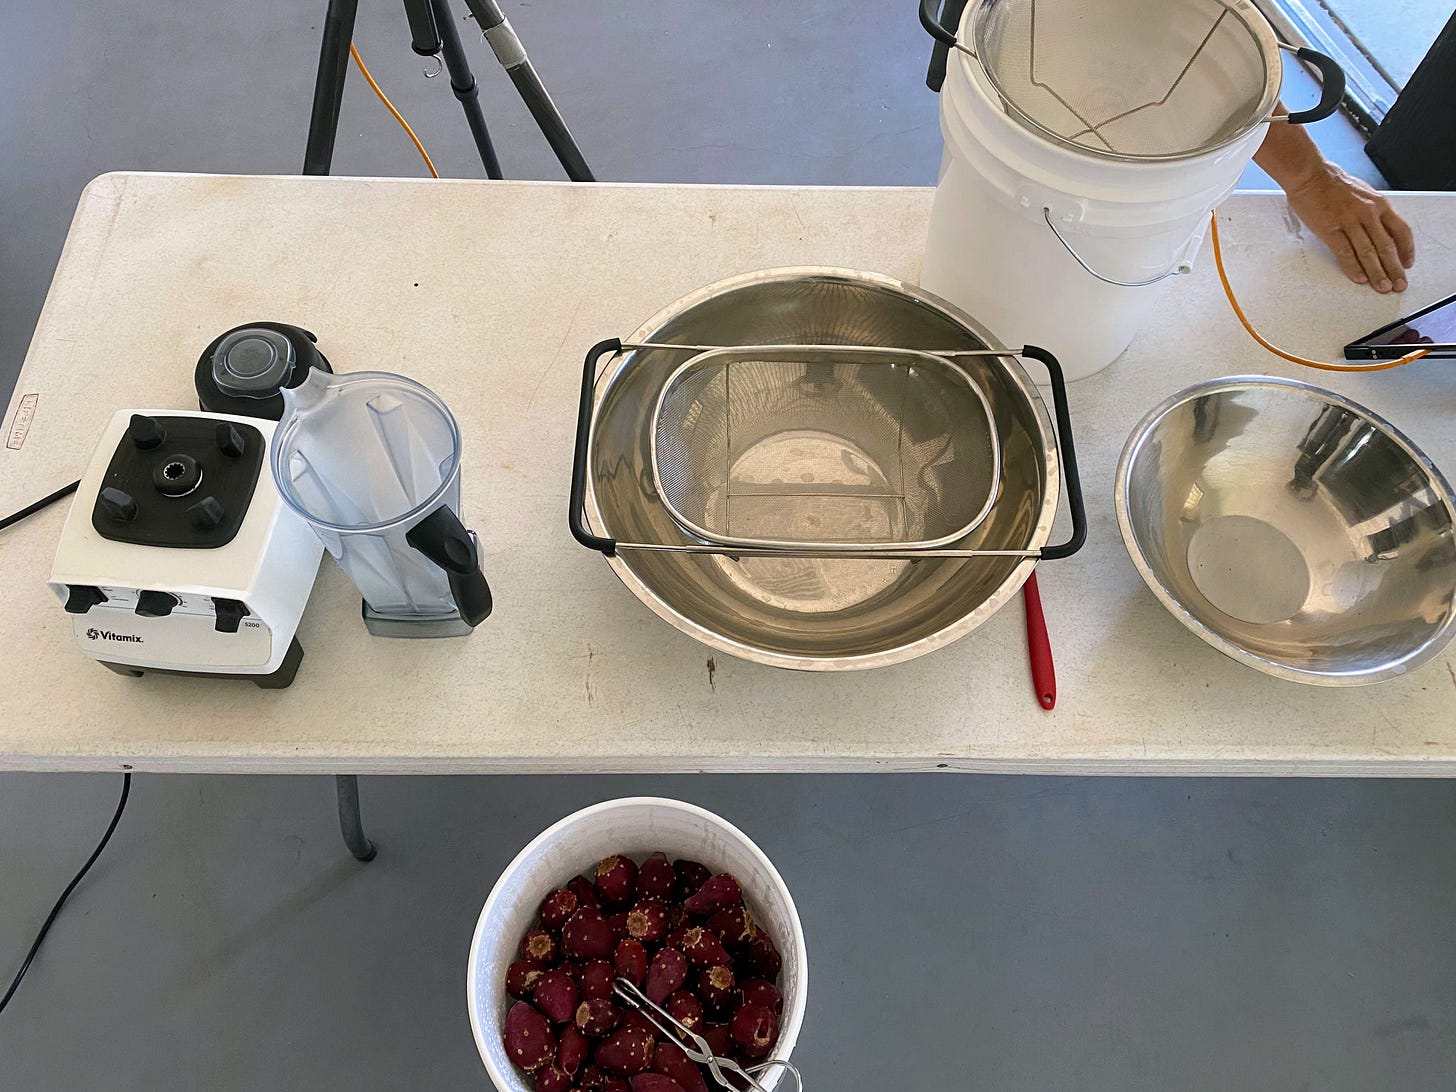
Below, I’ll go into my process in detail with photos and video to help guide you through it. The items you’ll need are likely in your kitchen now. In that case, you won’t need anything other than the ripe fruit!
Let’s go!
Processing Prickly Pear Fruit for Juice
What you’ll need:
-Vitamix (or similar device)
-Tongs
-cloths for wiping down surface
-large, wide stainless steel bowls (2-4)
-over the sink colanders (1-3)
-round, fine mesh strainers to fit over deep stainless bowl or 5 gallon food grade bucket
-clean containers to store the fresh juice (plastic or glass)
-Container to receive the discarded pulp, seeds, skin, spines, glochids
-clear surface area to perform the task (a 6’ or 8’ folding table may work well for most)
Everything you need to make juice.
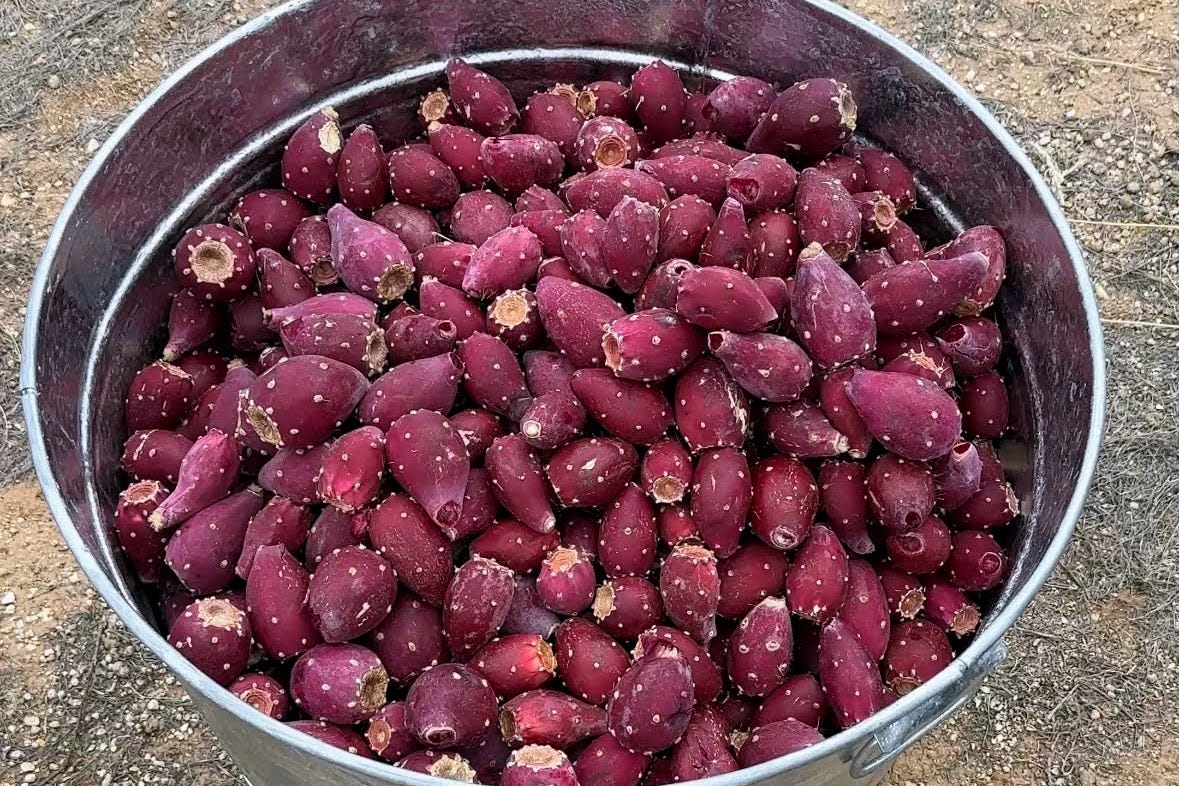
Once you have your freshly gathered prickly pear fruit, or frozen and thawed prickly pear fruit, you are ready to efficiently turn it all into juice.
If you have thoroughly frozen and thawed your prickly pear fruit, the juicing process will be a lot easier. But if you have more fruit than you can realistically freeze and thaw at one time, then not to worry. This process will still work great for you. It’ll just take a little longer.
Get your vitamix set up next to your buckets of fruit with a large over the sink colander set up right next to you (I prefer on the right) sitting over one of the large stainless steel bowls ready to receive your first full pitcher of blended fruit.
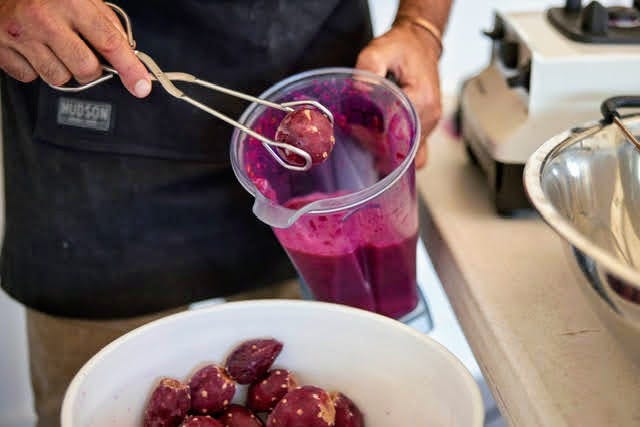
Fresh fruit needs to be gradually fed into the vitamix - don’t fill it all at once. If implementing the Freeze & Thaw method you can fill the pitcher straight away with a combo of juice and softened fruit pulp.
If you’re starting with fresh fruit, you'll likely need to blend only a few fruit at a time to get a slurry going. The vitamix won’t blend a pitcher full of whole fruit. Since we don’t want to add any water to our fruit, we can simply build up the slurry in stages.
Conversely, if you have a bucket of thawed fruit, you’ll be able to pour off some juice from the thawed fruit and fill the pitcher with soggy fruit to get a slurry going even with the pitcher full.
Be careful not to overfill the vitamix so you don’t lose some out the top.
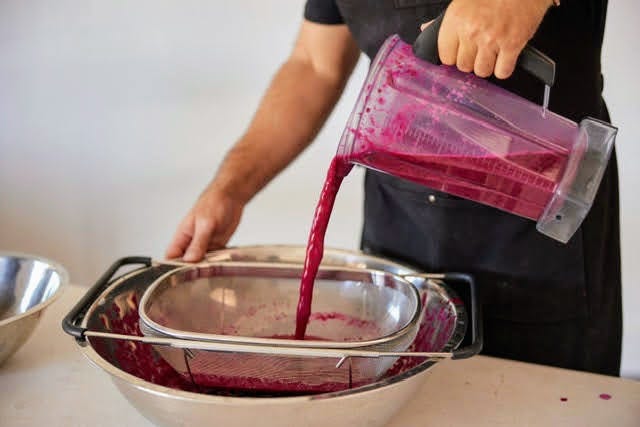
Once you have a full pitcher (half gallon in volume) of blended fruit, then pour it into the wide ‘over the sink’ colander. Here is where the magic happens. Roughly 98-99.99% of the skin, seeds, glochids and spines will be retained at this step. This is why we don’t bother to clean the spines or glochids from the fruit.
Pour one half gallon at a time into the strainer to allow for easier processing.
This is the first straining step but it will be very, very efficient. The next straining step serves to ensure that no seeds, skin, spines, or glochids pass on to the final juice.
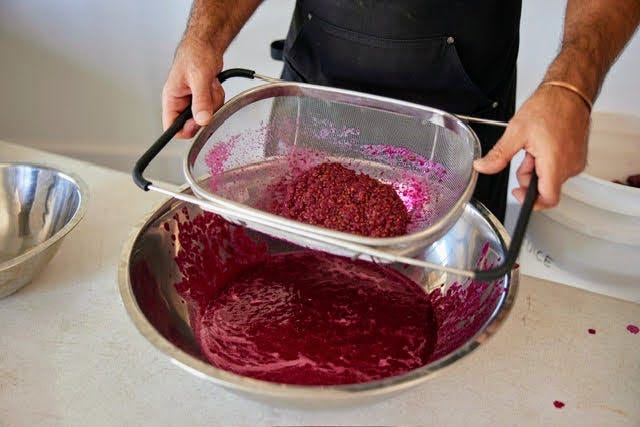
To complete this first step you’ll need to shake the strainer left to right, vigorously, in a tight and controlled fashion. If you swing too wildly or try another direction other than left to right, the slurry may get unruly. Tight, controlled left to right movement is the best approach in my experience.
Vigorously shake the pulp to cause the juice to fall through the strainer. Gravity alone is insufficient to optimize prickly pear fruit juice extraction.
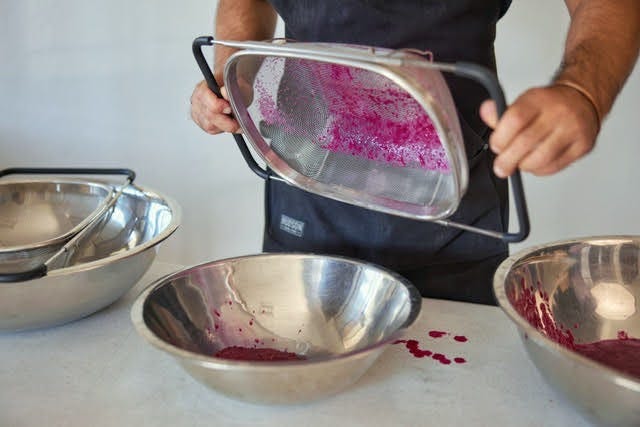
After 30 seconds or so of continuous, vigorous shaking of the first strain, you’ll have taken out most of the juice for this stage. I like to knock the strainer down onto the bowl to clear some of the more pulpy juice from the bottom of the strainer. A couple more shakes and knocks and this stage is done.
This pulp can be discarded into a separate bowl. We’ll return to this pulp later.
Easily discard the pulp (no more than 2 half gallon pitches at a time) by flicking the bolus out into a wide bowl for placing into another gravity strain step.
You can add another half gallon of slurry to the 1st strainer before dumping the juice into the 2nd strainer.
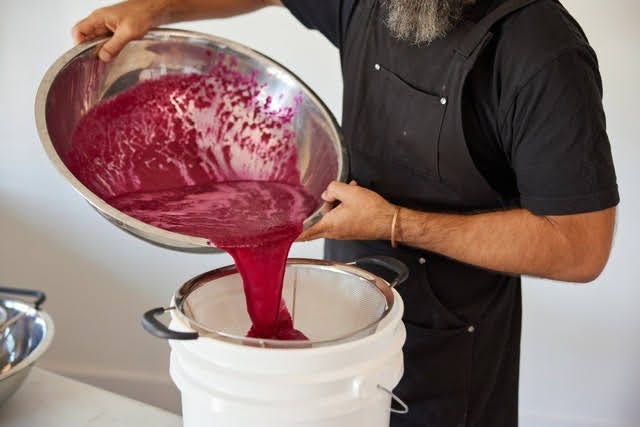
The 2nd straining step to insure no seeds or spines made it through the 1st step.
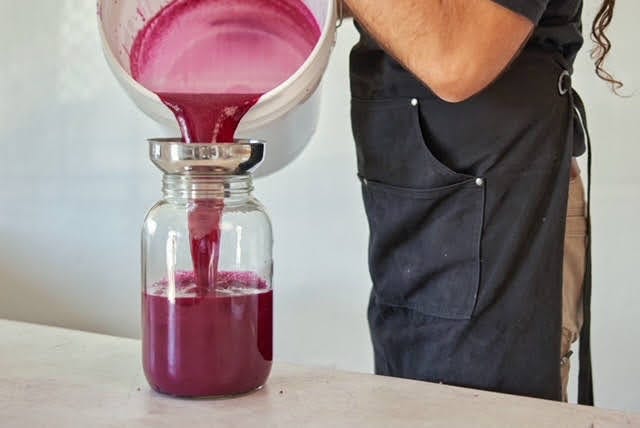
The 2nd straining step doesn’t need a different size strainer. You can use the same as the first step. But I like to pour the juice through the 2nd strainer directly into my final clean juice container. Since I use a bucket for juice storage, I like to use a round, handled screen strainer (available at Ross, Marshall’s, etc.) as it sits atop the bucket with no hands needed.
This 2nd step is a bit of a bottleneck. Depending on the amount of pulp/fiber in the fruit you’ve gathered, this step can be more or less of a bottleneck. The juicier the fruit, the quicker this 2nd step will be.
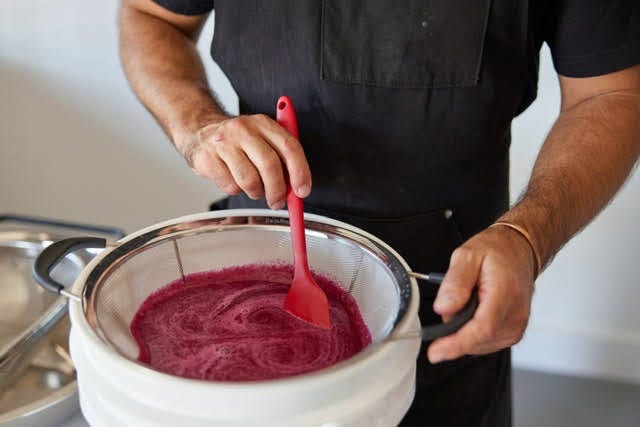
Coaxing the pulpy juice to move through the strainer. Lift the strainer up by the handles a few inches and drop it back down onto the bucket to cause juice to slam through the colander.
Similar to the first step, the juice must be agitated a bit to make it through the strainer. I like to use a silicon spatula to stir it around slightly forcing it down through the strainer. Then you can pick up the strainer a couple inches and drop it down onto bucket. Do this a few times to clear the pulpy juice from the bottom of the strainer. Knocking the strainer will get you through a few rounds of straining at this 2nd step, but eventually you will have to clear the strainer. Take it to the sink and spray through from the underside back up through the strainer. This step will quickly clear the strainer so you can put it back to use.
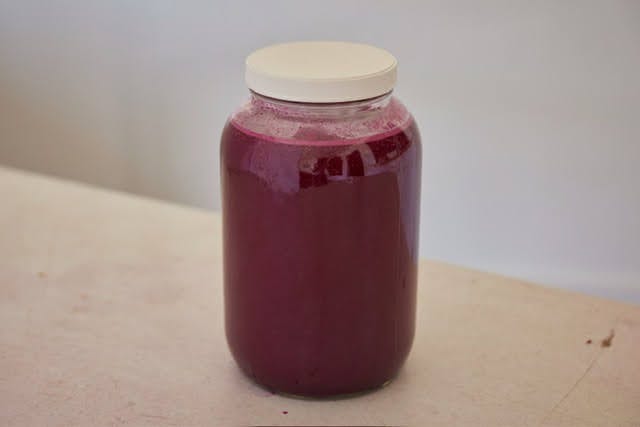
Now you have strained juice ready to use, freeze, refrigerate (up to 1 week), or can (for shelf stability). My preferred method is to use fresh or freeze for later use. Thawed juice is virtually identical to the fresh, raw juice. This is one reason that I don’t like to subject the fresh fruit to any heat as others do (burning, blanching, boiling, roasting) as all the heat labile nutrients (such as Vit C) remain intact.
A simple and practical method for storing small, single-serving sizes is to pour into ice cube trays. Once frozen, pop out the cubes and place into zip lock freezer bags for later use.
Important note: prickly pear fruit juice does not fully freeze. It will always maintain a soft surface than can be easily rubbed off with a finger or anything else in the freezer. This is why it’s important to pop out the cubes once frozen and place them in freezer bags or other containers. Otherwise, the items in your freezer will gradually all become stained with prickly pear juice.
Completion of Straining and Saving the Peels, Pulp, & Seeds
Although we now have our juice ready to use or be stored, we can get even more from the pulp if we continue with a couple more simple steps. Additionally, if you’d like to put in a little more extra work you can turn the strained pulp into two more foods: fruit powder and seed flour.
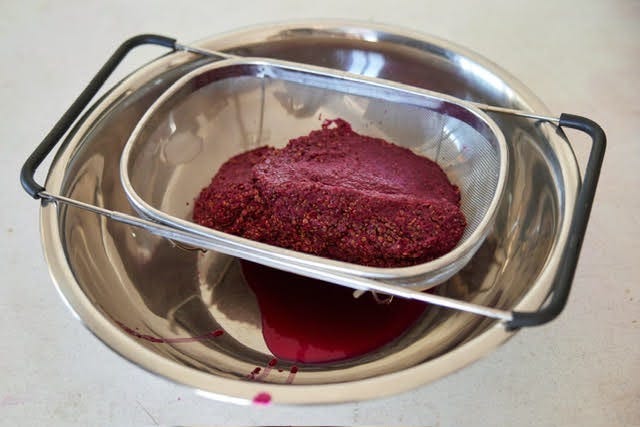
The pulp that was previously set aside in a bowl after the 1st straining step can be placed into a 2nd over the sink strainer in another large stainless steel bowl as you continue to blend fruit and strain out the pulp in the 1st straining stage.
This will accumulate quickly so it will call for your attention before you get too far with blending. This additional strain will produce another 5-10% juice. Here’s where understanding the nature of prickly pear fruit comes into play. Despite all the pressing, shaking, and coaxing you may do, it does require a bit of time for the juice to separate from the pulp. In order to keep the process moving, we gather the bulk of the juice right away, then come back to rescue more of it once we’ve secured the majority of the juice. That’s the additional strain.
Giving the discarded pulp a bit of extra time to “bleed out” into the bowl relieving the extended final straining step (see below).
You can use the back of a large spoon to press some of the pulp into the screen, shake it back and forth (as in the 1st step), and knock the strainer down onto the top of the bowl to knock the pulpy juice down into the bowl below. The juice that accumulates in the bowl can be added back to the already strained juice.
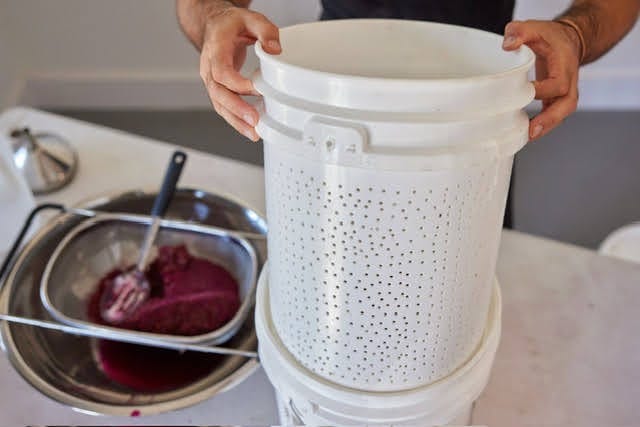
IF you want to take it one step further, a previous helper of mine set up this method of slow, gravity-fed straining that can coax out a bit more juice before taking to dehydrating the pulp and seeds.
Inner bucket is full of holes to allow juice to slowly seep out. The stacked buckets provides for a couple inches below the inner bucket. One can install a spigot onto this lower portion of the outer bucket to accommodate the flow. A full bucket can yield 1-2qt or more when sufficient juice remains within the discarded pulp.
The final bucket strain takes about 12-15 hours, so it’s best to keep it refrigerated over this time unless you’re doing the processing out of season when the daily temperatures are much cooler. Then it may be able to sustain room temps (in the high 60s) for that amount of time without beginning to spoil.
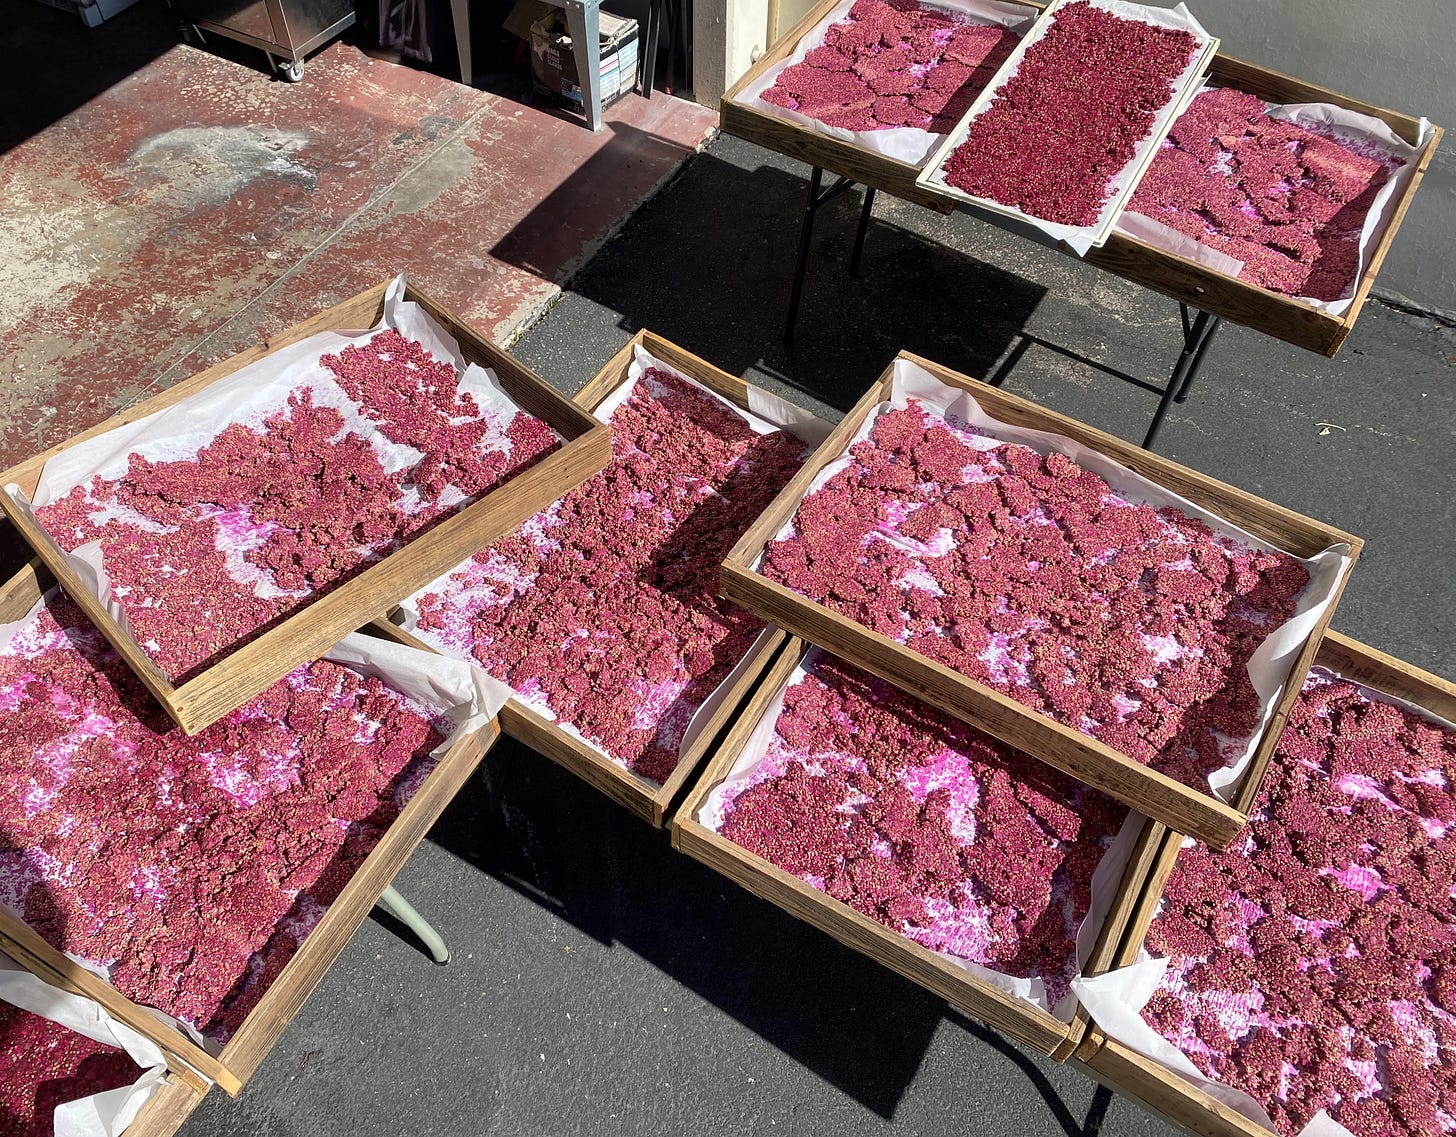
prickly pear fruit pulp and seeds drying in the sunshine
Once you’ve completely exhausted your juice extraction methods, you can dehydrate everything that remains. If you find this too time consuming, you can conversely take it back out to where you gathered the fruit and dump it on the ground. Likely, in no time, the wild animals of the area will feast on what is left and adequately disperse the seeds across the landscape.
One drawback of this relatively quick, hands-off method, is that when you get to this step of saving the dehydrated fruit powder you will have to contend with glochids (tiny “hairs” which are retorsed so they easily stick into things). But they are quite feeble and not really painful to get in your hands. If you use thick rubber (or maybe kevlar) gloves while handling the pulp, there should be no problem. Once ground down, they will never be noticed.
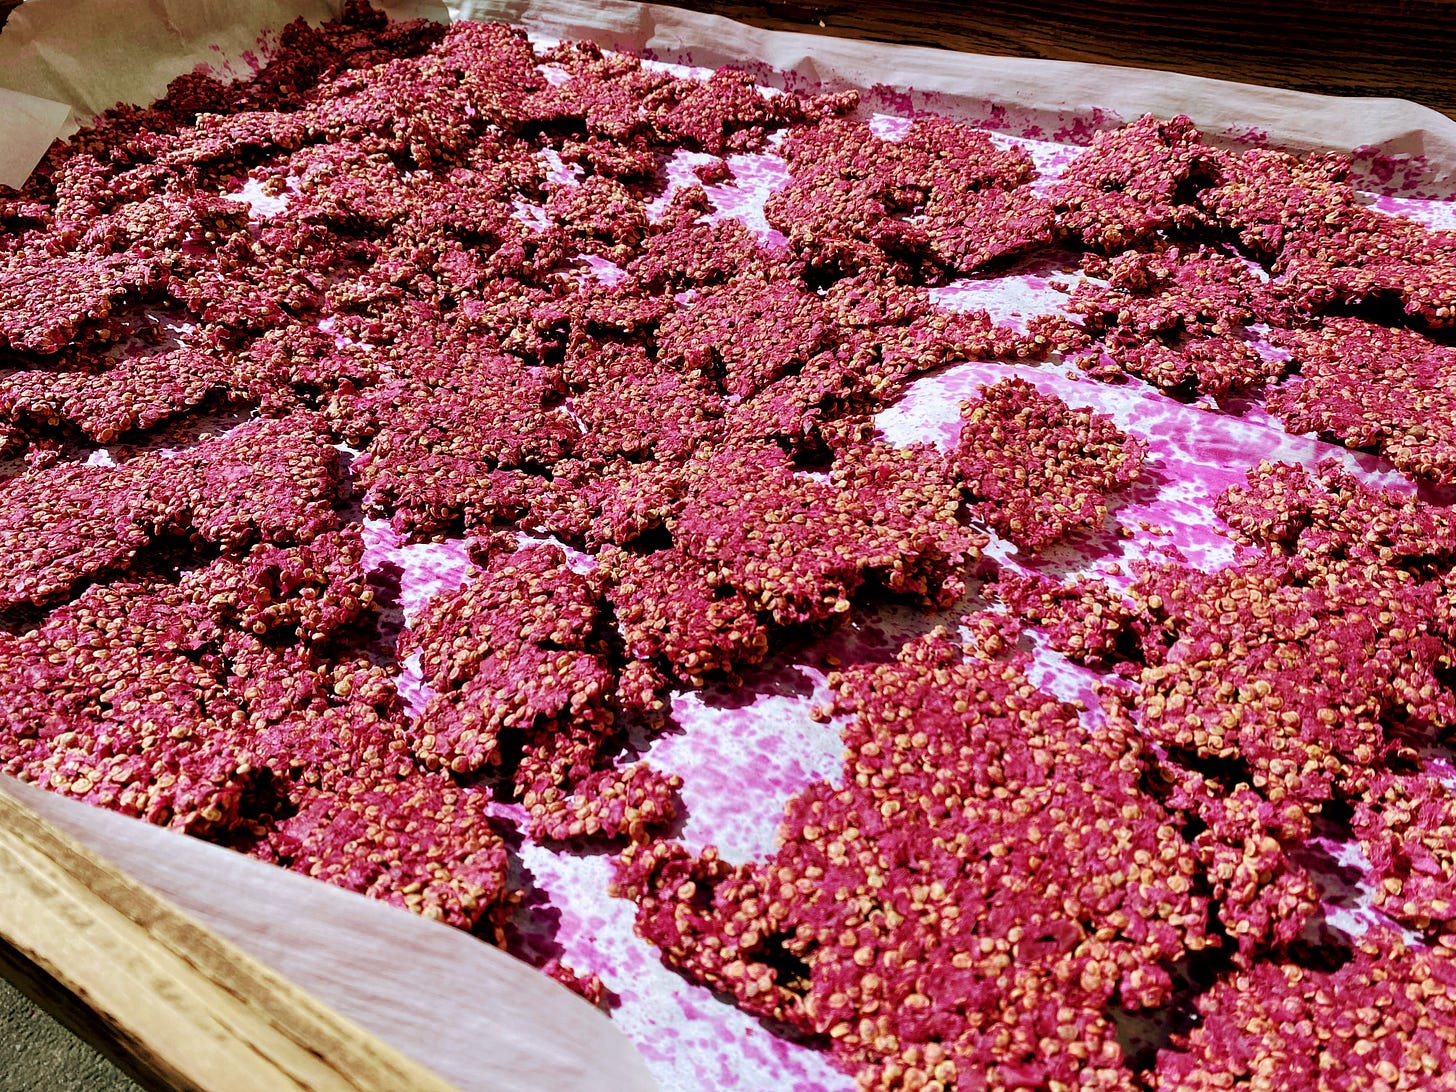
You can now place the pulp on parchment paper in an electric or solar dehydrator. I prefer an electric dehydrator as I can control the temperature. I like to keep it at 115F or lower. I’ve found that a 3/4” thick sheet of pulp will fully dehydrate at 115F for about 18-20 hours. Otherwise, I like drying directly in the sunshine. This takes some attention to turn the pulp cakes over to allow for thorough drying (especially in low light or relatively short days, ie. Oct-Mar). The process may take 2-4 days total in the sun.
dry seeds & pulp
This cake is then broken down into smaller pieces in order to fit into a grinder of some sort. The grinder will pulverize the non-seed portions of your pulp into a powder, leaving the seeds relatively whole. It is best to quickly pulse the grinder (3 seconds or less) so as not to start grinding the hard seeds as well). I like to keep the seeds separate as they are rich in oils.
Simply pour the contents of each short grinding session through a kitchen sieve to remove the finely powdered fruit remains, and separate the whole seeds off to the side. Repeat until all of your dehydrated pulp is separated.
Conversely, if you manage to process a great deal of fruit, this could be a multi-day task. In that case, simply break down the fruit pulp and seed chunks into smaller pieces and store the dehydrated pieces in a food grade bucket with lid on tight in a cool place away from sunlight. These should last many, many months stored like this until you’re ready to process them.
The seeds can be ground down into a flour for use in baking and general cooking. The flavor is nutty and oily and with some of the fruit powder remaining on the otherwise brown seeds, it will transfer some of the unique prickly pear pink color to your baked goods as well. I use my small spice grinder for a second grinding step to ensure I get the hard seed chunks down as fine as I can. If you have a good stone grinder for grain, you may try that as well. The seeds are particularly hard and any chunks remaining in your flour will not soften into your baked goods - you’ll be spitting them out. It’s best to store this flour in the fridge, or long-term, in the freezer due to its oil content.
Enjoy!


Thank you so much for these very detailed instructions. I may have missed this, but do you wash the fruit?
if you only pick one bucket or so, because you don’t have freezer or fridge space, I assume you can process it right away when you get home. When you were mentioning grinder, what kind of grinder are you referring to? I’m not talking about the second grinding you do in your coffee grinder